Streamline Your GeoBlazor Setup with New Visual Studio Templates

GeoBlazor is an easy-to-use solution for adding interactive maps to your Asp.NET Core Blazor applications. While we try to keep the application setup as simple as possible, (see Getting Started), it still requires setting up a few lines in 4 different files. If you miss one of these steps, your map will not render.
Now, there's a new way to get started, using GeoBlazor Templates. With these templates, we have done a lot of the boilerplate setup for you, allowing you to get straight to implementing the mapping features you care about.

To get started, make sure you have .NET 8 installed, and open up a terminal application to run the following:dotnet new install dymaptic.GeoBlazor.Templates
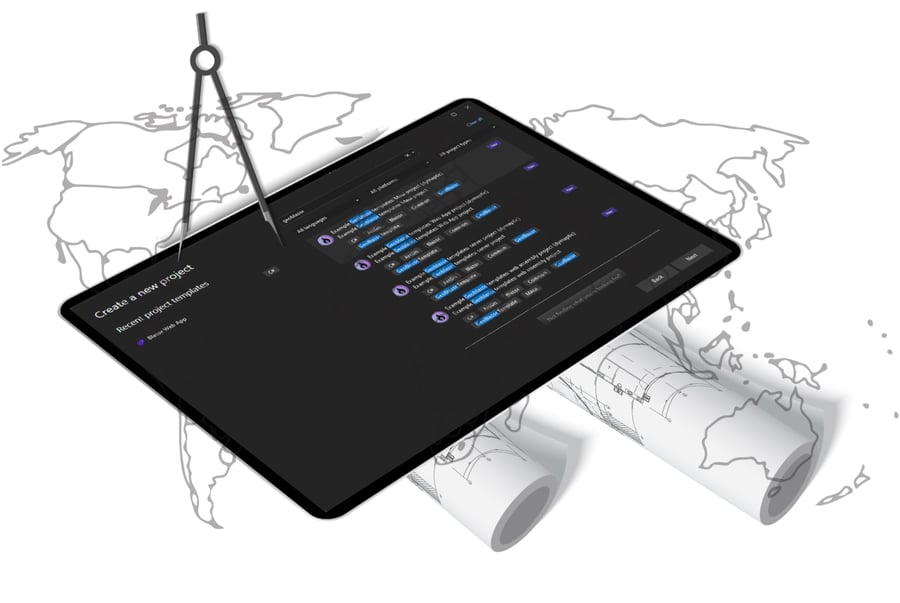
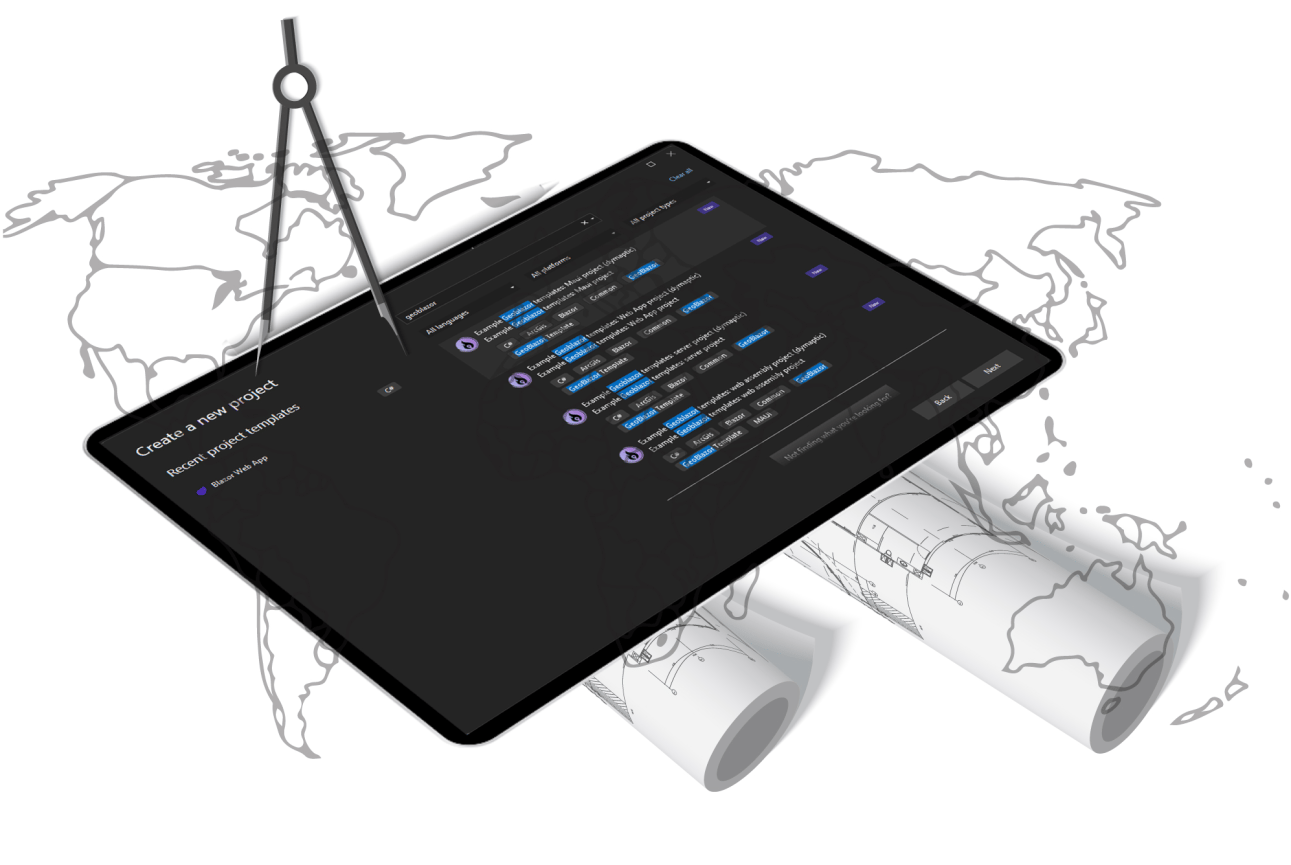
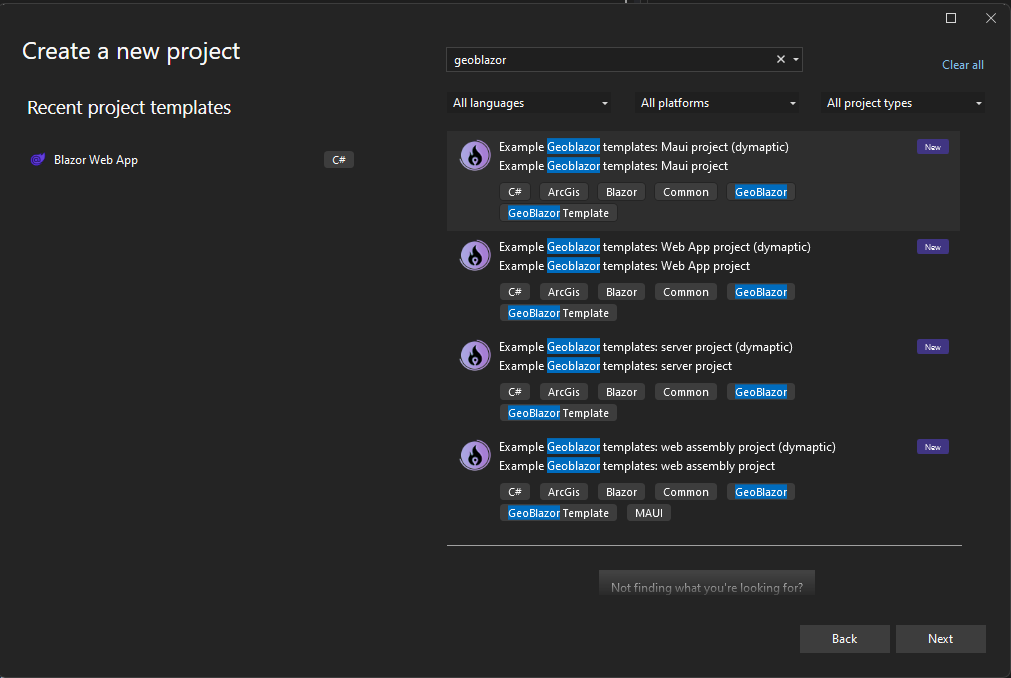
This installs the GeoBlazor templates to your computer. From there, you can use the command line or your IDE to create new GeoBlazor projects. In the screenshot below, notice that the templates appear in Visual Studio 2022.
From the command line, one of the following commands will create a project:dotnet new geoblazor-server -o <project name> - Server-side app that connects to the browser via SignalR
dotnet new geoblazor-webassembly -o <project name> - Client-side WebAssembly app that runs in the browser
dotnet new geoblazor-maui -o <project name> - Blazor Hybrid with .NET MAUI deployable to Windows, Mac, iOS, and Android
dotnet new geoblazor-webapp -o <project name> - New .NET 8 Blazor Web App for mixed render modes
Each template comes with a README.md file with instructions on adding your ArcGIS API Key, which is the only step necessary to get started.
When running GeoBlazor for the first time, you will see a prompt in your console to register the application, which you can do at https://licensing.dymaptic.com/geoblazor-core. This registration includes a short survey that helps us better support our users.
Let us know what you think of the new GeoBlazor templates! You can join the discussion on our Discord server, or email info@dymaptic.com.

.webp?width=500&name=A-Transformation-in-Location%20(1).webp)

