
In today’s data-driven world, mapping business trends and insights can turn complex problems into actionable strategies. Using geographic in...
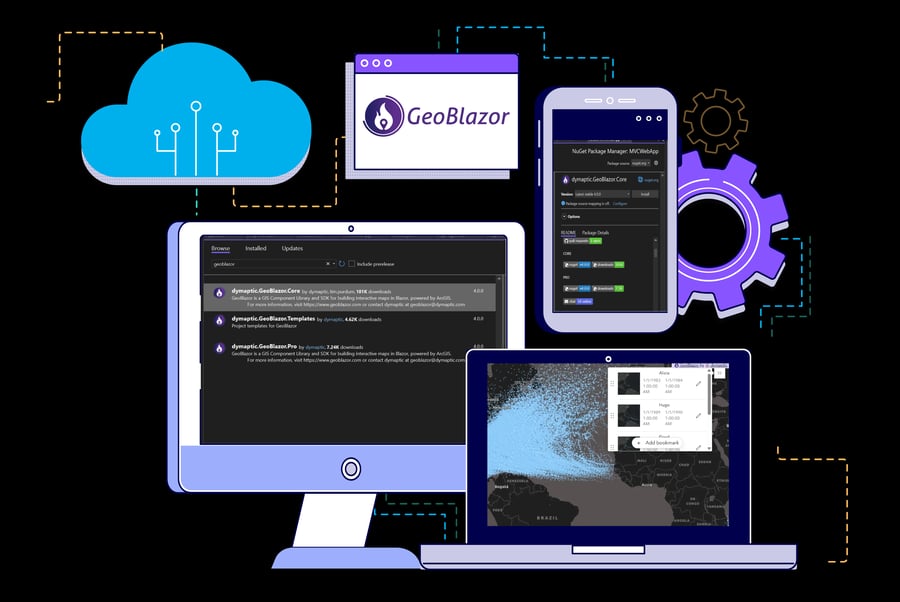
If you're maintaining an existing ASP.NET MVC application and want to add rich, interactive maps, you're not out of options. You don't need to rewrite your app in Blazor or adopt a completely new front-end stack — you can integrate GeoBlazor, a modern GIS component library, directly into your current MVC project.
GeoBlazor wraps the ArcGIS Maps SDK for JavaScript in a Blazor-friendly API, allowing you to build powerful mapping interfaces with C#. While it’s primarily designed for Blazor apps, with a bit of setup, you can embed GeoBlazor components inside your traditional MVC views using Blazor Server and Razor Class Libraries.
In this guide, we’ll show you how to enhance your existing ASP.NET MVC app with GeoBlazor — step by step — so you can visualize geospatial data, overlay layers, and interact with maps without overhauling your architecture.
The completed GitHub Repository can be found at: https://github.com/dymaptic/GeoBlazorMVCWebApp/
The basis for this will be the great documentation provided by Microsoft. Our sample project is based in .NET 9, but there is also documentation for .NET 8 and it should follow a similar pattern.
Integrate ASP.NET Core Razor components with MVC or Razor Pages | Microsoft Learn
Adding GeoBlazor into Your Application
First things first, make sure to add the ArcGIS and GeoBlazor keys into your usersecrets.json file that is read into the configuration. For detailed instructions on how to do this, check out the GeoBlazor Getting Started Guide.
After completing the instructions above, there are a couple more steps to add GeoBlazor into the application. First we need to add a reference to the GeoBlazor package with NuGet.

Then we can add the GeoBlazor namespaces to the _Imports.razor file:
@*Added for GeoBlazor*@
@using dymaptic.GeoBlazor.Core.Components
@using dymaptic.GeoBlazor.Core.Components.Layers
@using dymaptic.GeoBlazor.Core.Events
@using dymaptic.GeoBlazor.Core.Model
@using dymaptic.GeoBlazor.Core.Components.Views
@using dymaptic.GeoBlazor.Core.Components.Widgets
@using dymaptic.GeoBlazor.Core.Enums
Add reference to the GeoBlazor css files to the <head> section of _Layouts.cshtml:
<!--Added for GeoBlazor-->
<link href="_content/dymaptic.GeoBlazor.Core"/>
<link rel="stylesheet" href="~/_content/dymaptic.GeoBlazor.Core/assets/esri/themes/light/main.css" />
To make it all work together, add the GeoBlazor declaration in the Program.cs file where services are registered:
//Added for GeoBlazor
builder.Services.AddGeoBlazor(builder.Configuration);
Adding a Map
Now that we have everything setup, we can add a new razor component to the project and add our map.
I created a Components folder and added a MapComponent.razor file. I copied one the examples from our samples page. If you want to see more examples of GeoBlazor maps and apps, head to https://samples.geoblazor.com/ and choose from the dozens of samples there.
<p>Blazor Map:</p>
<MapView Style="height:500px; width:100%;" OnLayerViewCreate="OnLayerViewCreate">
  <WebMap>
      <PortalItem PortalItemId="70b726074af04a7e9839d8a07f64c039" />
  </WebMap>
  <ExpandWidget Expanded="true" Position="OverlayPosition.TopRight">
      <BookmarksWidget OnBookmarkSelect="OnBookmarkClick"
                       DragEnabled="true">
          <BookmarksVisibleElements EditBookmarkButton="true"
                                    AddBookmarkButton="true" />
      </BookmarksWidget>
  </ExpandWidget>
</MapView>
@code {
private void OnLayerViewCreate(LayerViewCreateEvent evt)
{
if (evt.Layer is not FeatureLayer) return;
> _layerView = evt.LayerView as FeatureLayerView;
}
de> private void OnBookmarkClick(BookmarkSelectEvent eventArgs)
{
if (_layerView is null) return;
var hurricaneName = eventArgs.Bookmark.Name;
var featureEffect = new FeatureEffect([new Effect("grayscale(100%) opacity(30%)")],
null, new FeatureFilter(where: $"Name = '{hurricaneName!.ToUpper()}'"));
_ = _layerView.SetFeatureEffect(featureEffect);
}
private FeatureLayerView? _layerView;
} I then updated the Index.cshtml file to reference the MapComponent. ASP .NET MVC with GeoBlazor in this configuration supports both “Server” and “ServerPrerendered” render-modes. Replace {APP NAMESPACE} with your project's namespace.
NOTE: If you need the “webassembly” render-modes, you will need to create a new Blazor webassembly project, and that is out of the scope of this project.
@using {APP NAMESPACE}.Components
<component type="typeof(MapComponent)" render-mode="ServerPrerendered" />
If you now run the project, a nice map should be loaded on the home page of the application:

Routable Razor Pages
If you want to use routable razor pages, you can add a map the same way. I followed the guide on Microsoft’s page to add the support for routing and updated my project.
I added a Pages folder and then added a MapPage.razor file.

I was then able to reuse my MapComponent in my MapPage.razor. Make sure to replace {APP NAMESPACE} with your project's namespace.
@page "/routeable-map"
@using {APP NAMESPACE}.Components
<PageTitle>Routeable Map</PageTitle>
<MapComponent />
Then, when I re-run the application, I can visit the page and get another working map!

Integrating GeoBlazor into an existing ASP.NET MVC application is surprisingly straightforward. With just a few steps you can bring powerful GIS capabilities into your app without rewiring your entire application.
Whether you're building internal tools, dashboards, or public-facing map features, GeoBlazor lets you leverage the power of ArcGIS with the simplicity of Blazor and .NET. It's a clean, modern way to enhance your existing application with interactive maps, geospatial data, and drawing tools—all while keeping your MVC structure intact.
If you're looking to modernize your app incrementally, this is a great first step.
Need help getting started or have questions? Join our Discord community — we’re always happy to help.
Related articles


In today’s enterprise asset-management world, users expect more than start-and-end mapping. They need interactive, near-real-time routing wi...
GeoBlazor is an easy-to-use solution for adding interactive maps to your Asp.NET Core Blazor applications. While we try to keep the applicat...